
Next.JS에서 MDX 사용하기
2024-05-07
next-mdx-remote를 사용하여 MDX파일을 불러와 목록과 내용을 추출하고, gray-matter를 사용해 파일의 속성을 가져옵니다.
Contents
- 라이브러리 설치하기
- 테스트 파일 작성하기
- MDX 파일 불러오기
- MDX 파일 목록을 가져오기 위한 함수 만들기
- 메인 페이지에 모든 MDX 파일 불러오기
- h 태그에 링크 걸기
- 코드블럭 스타일링하기
- 마무리
라이브러리 설치하기
MDX 파일을 읽기 위해 아래의 라이브러리들을 설치해주겠습니다.
yarn add next-mdx-remote gray-matternext-mdx-remote를 이용하여 MDX를 컴포넌트화 하고, gray-matter를 통해 MDX 파일의 정보를 가져옵니다.
테스트 파일 작성하기
MDX 파일을 가져오기 위해 예시 파일을 contents 폴더 내에 test.mdx 라는 이름으로 만들어 줍니다.
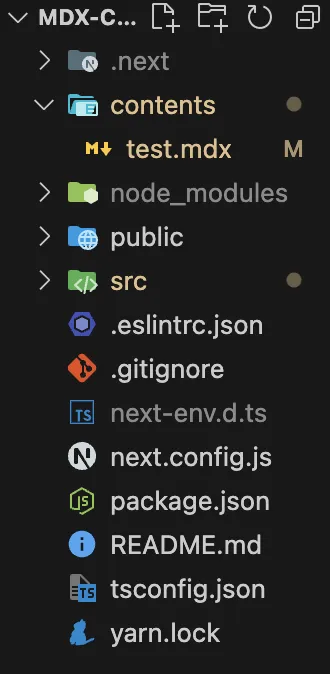 파일 디렉토리
그리고 test.mdx에 아래와 같은 내용을 넣어주겠습니다.
---
title: 테스트 1 제목
date: "2024-05-07"
description: 테스트 1 설명
tag: 태그 1
---

## test

test

```tsx
// src/app/page.tsx
export default function Home() {
  return <div>Home</div>;
}
```
MDX 내용이 코드인 경우 (```)로 코드를 감싸고 첫줄에 언어를 작성해줘야 합니다.
MDX 파일 불러오기
MDX 파일을 불러오기 위해 app 디렉토리 내에 contents 폴더와 contents 폴더 내에 [slug] 폴더를 만든 뒤, page.tsx를 생성합니다.
import styles from "@/app/contents/[slug]/page.module.css";
import fs from "fs";
import path from "path";
import matter from "gray-matter";
import { MDXRemote } from "next-mdx-remote/rsc";

export async function generateStaticParams() {
  const files = fs.readdirSync(path.join("contents"));
  const paths = files.map((filename) => ({
    slug: filename.replace(".mdx", ""),
  }));
  return paths;
}

function getContent({ slug }: { slug: string }) {
  const markdownFile = fs.readFileSync(
    path.join("contents", slug + ".mdx"),
    "utf-8"
  );
  const { data: frontMatter, content } = matter(markdownFile);
  return {
    frontMatter,
    slug,
    content,
  };
}

export async function generateMetadata({ params }: any) {
  const content = getContent(params);
  return {
    title: content.frontMatter.title,
    description: content.frontMatter.description,
    openGraph: {
      title: content.frontMatter.title,
      description: content.frontMatter.description,
      url: `https://localhost:3000/contents/${content.slug}`,
      locale: "ko_KR",
      type: "article",
    },
  };
}

export default function Post({ params }: any) {
  const props = getContent(params);

  return (
    <article>
      <div>
        <div>{props.frontMatter.date}</div>
        <div>{props.frontMatter.tag}</div>
      </div>
      <h1>{props.frontMatter.title}</h1>
      <p>{props.frontMatter.description}</p>
      <div className={styles.content}>
        <MDXRemote source={props.content} />
      </div>
    </article>
  );
}
위 코드의 gray-matter를 통해 MDX 파일의 작성일자, 태그, 제목, 설명 등을 쉽게 가져와서 메타 데이터를 만들고, 원하는 곳에 위치시킬 수 있습니다.
그리고 fs를 이용하여 시스템에서 MDX 파일을 읽고, path를 이용해 MDX 파일의 경로를 찾아 MDX 파일의 파일명을 사용하여 params를 결정합니다.
그렇게 가져온 MDX 파일을 MDXRemote 컴포넌트를 이용하여 나타냅니다.
MDXRemote에 대한 스타일링의 경우 겉에 div를 둘러 해당 div를 스타일링하여 대신할 수 있습니다.
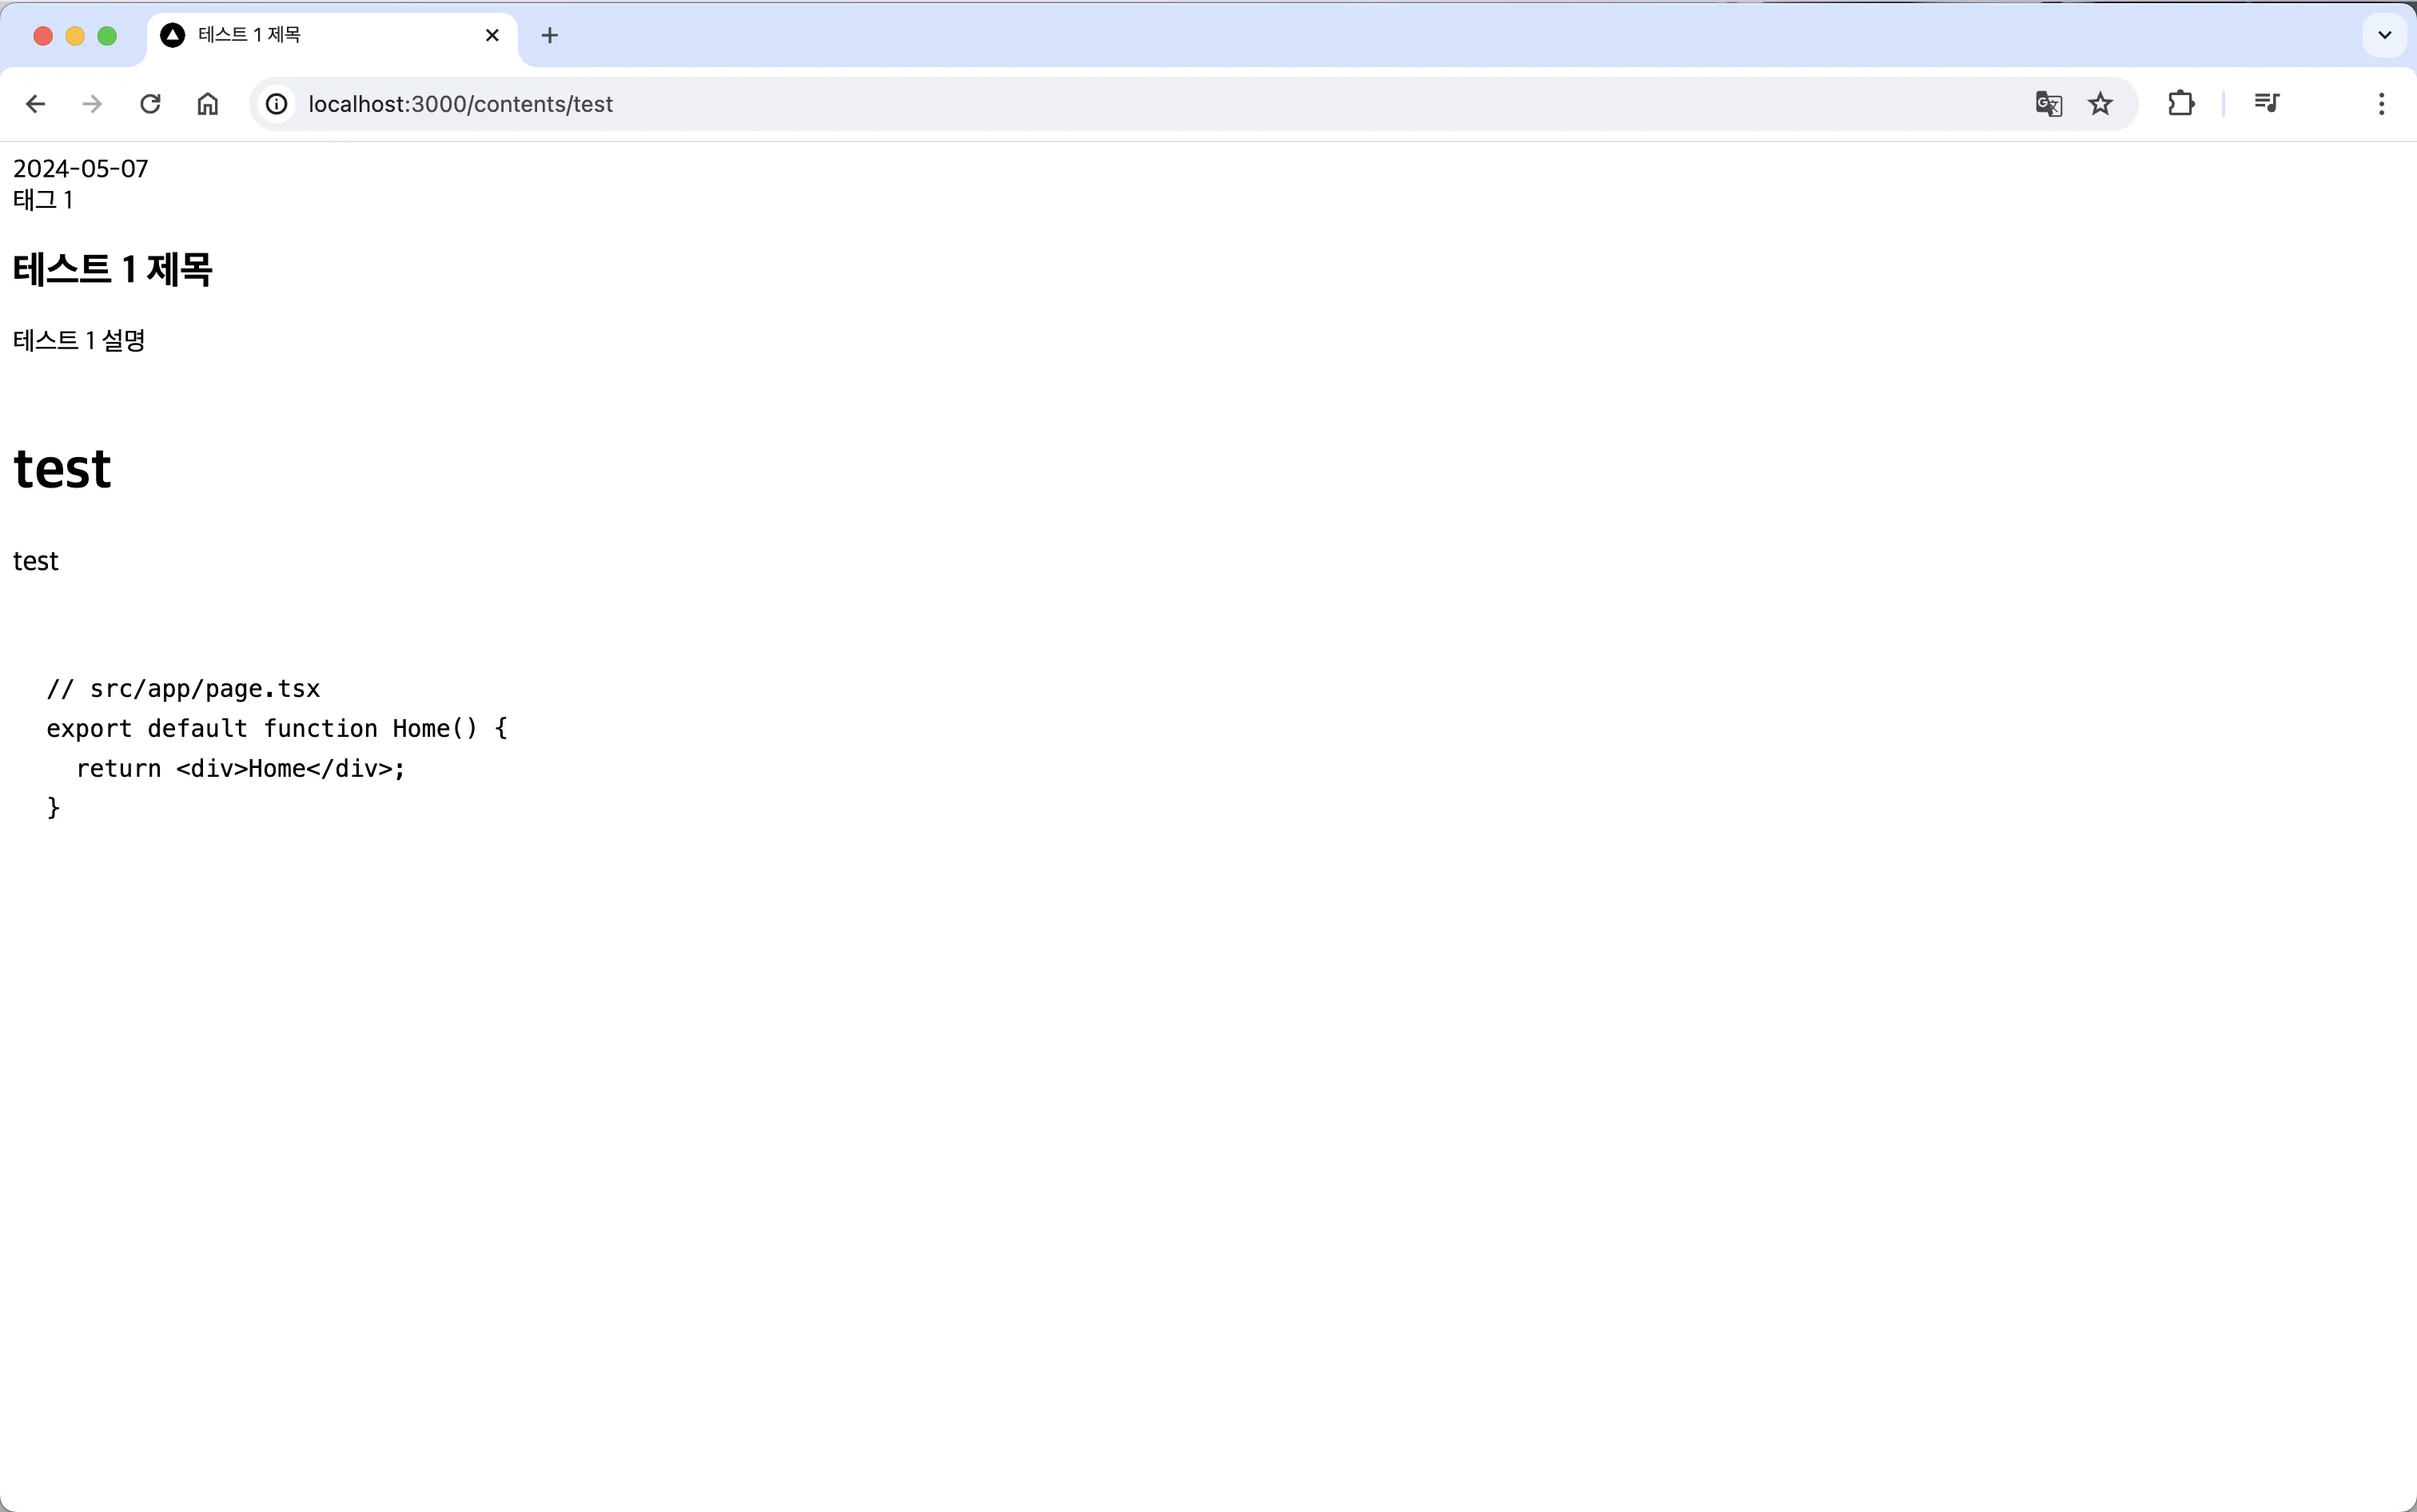 MDXRemote를 통해 가져온 MDX 파일
MDX 파일 목록을 가져오기 위한 함수 만들기
메인 페이지에 모든 MDX 파일들의 목록을 가져오기 위해서 해당 기능을 위한 함수를 만들어보겠습니다.
src 디렉토리 안에 utils 폴더를 만든 뒤, getContents.ts 파일을 만들어줍니다.
import fs from "fs";
import path from "path";
import matter from "gray-matter";

const postDir = "contents";
const files = fs.readdirSync(path.join(process.cwd(), postDir));

const allContents = files
  .map((filename) => {
    const fileContent = fs.readFileSync(path.join(postDir, filename), "utf-8");
    const { data: frontMatter } = matter(fileContent);
    return {
      meta: frontMatter,
      slug: filename.replace(".mdx", ""),
      content: fileContent,
    };
  })
  .filter((post) => post.meta.tag);

const contents = allContents.sort((a, b) => {
  const dateA = a.meta.date.toLowerCase();
  const dateB = b.meta.date.toLowerCase();
  return dateB.localeCompare(dateA);
});

export default contents;
위 코드 또한 fs, path, matter를 통해 모든 MDX 파일의 정보를 가져온 후 아래와 같은 리스트를 반환합니다.
[
  {
    meta: {
      title: "테스트 1 제목",
      date: "2024-05-07",
      description: "테스트 1 설명",
      tag: "태그 1",
    },
    slug: "test",
    content:
      "---\n" +
      "title: 테스트 1 제목\n" +
      'date: "2024-05-07"\n' +
      "description: 테스트 1 설명\n" +
      "tag: 태그 1\n" +
      "---\n" +
      "\n" +
      "## test\n" +
      "\n" +
      "test\n" +
      "\n" +
      "```tsx\n" +
      "// src/app/page.tsx\n" +
      "export default function Home() {\n" +
      "  return <div>Home</div>;\n" +
      "}\n" +
      "```\n",
  },
];
메인 페이지에 모든 MDX 파일 불러오기
모든 MDX 파일을 불러올 수 있는지 확인하기 위해 test2.mdx, test3.mdx라는 MDX 파일 2개를 더 만들어주겠습니다.
그리고 모든 MDX 파일들이 들어있는 contents를 page.tsx에 불러와서 contents안에 있는 요소 수 만큼 해당 content로 이동할 수 있는 미리보기를 만들어주겠습니다.
import contents from "@/utils/getContents";
import Link from "next/link";
export default function Home() {
return (
<div>
<div>
{contents.map((content, index) => (
<div
style={{ border: "1px solid black", margin: 8, padding: 8 }}
key={index}
>
<Link href={`/contents/${content.slug}`}>
{content.meta.title} ({content.meta.tag}) ({content.meta.date})
</Link>
</div>
))}
</div>
</div>
);
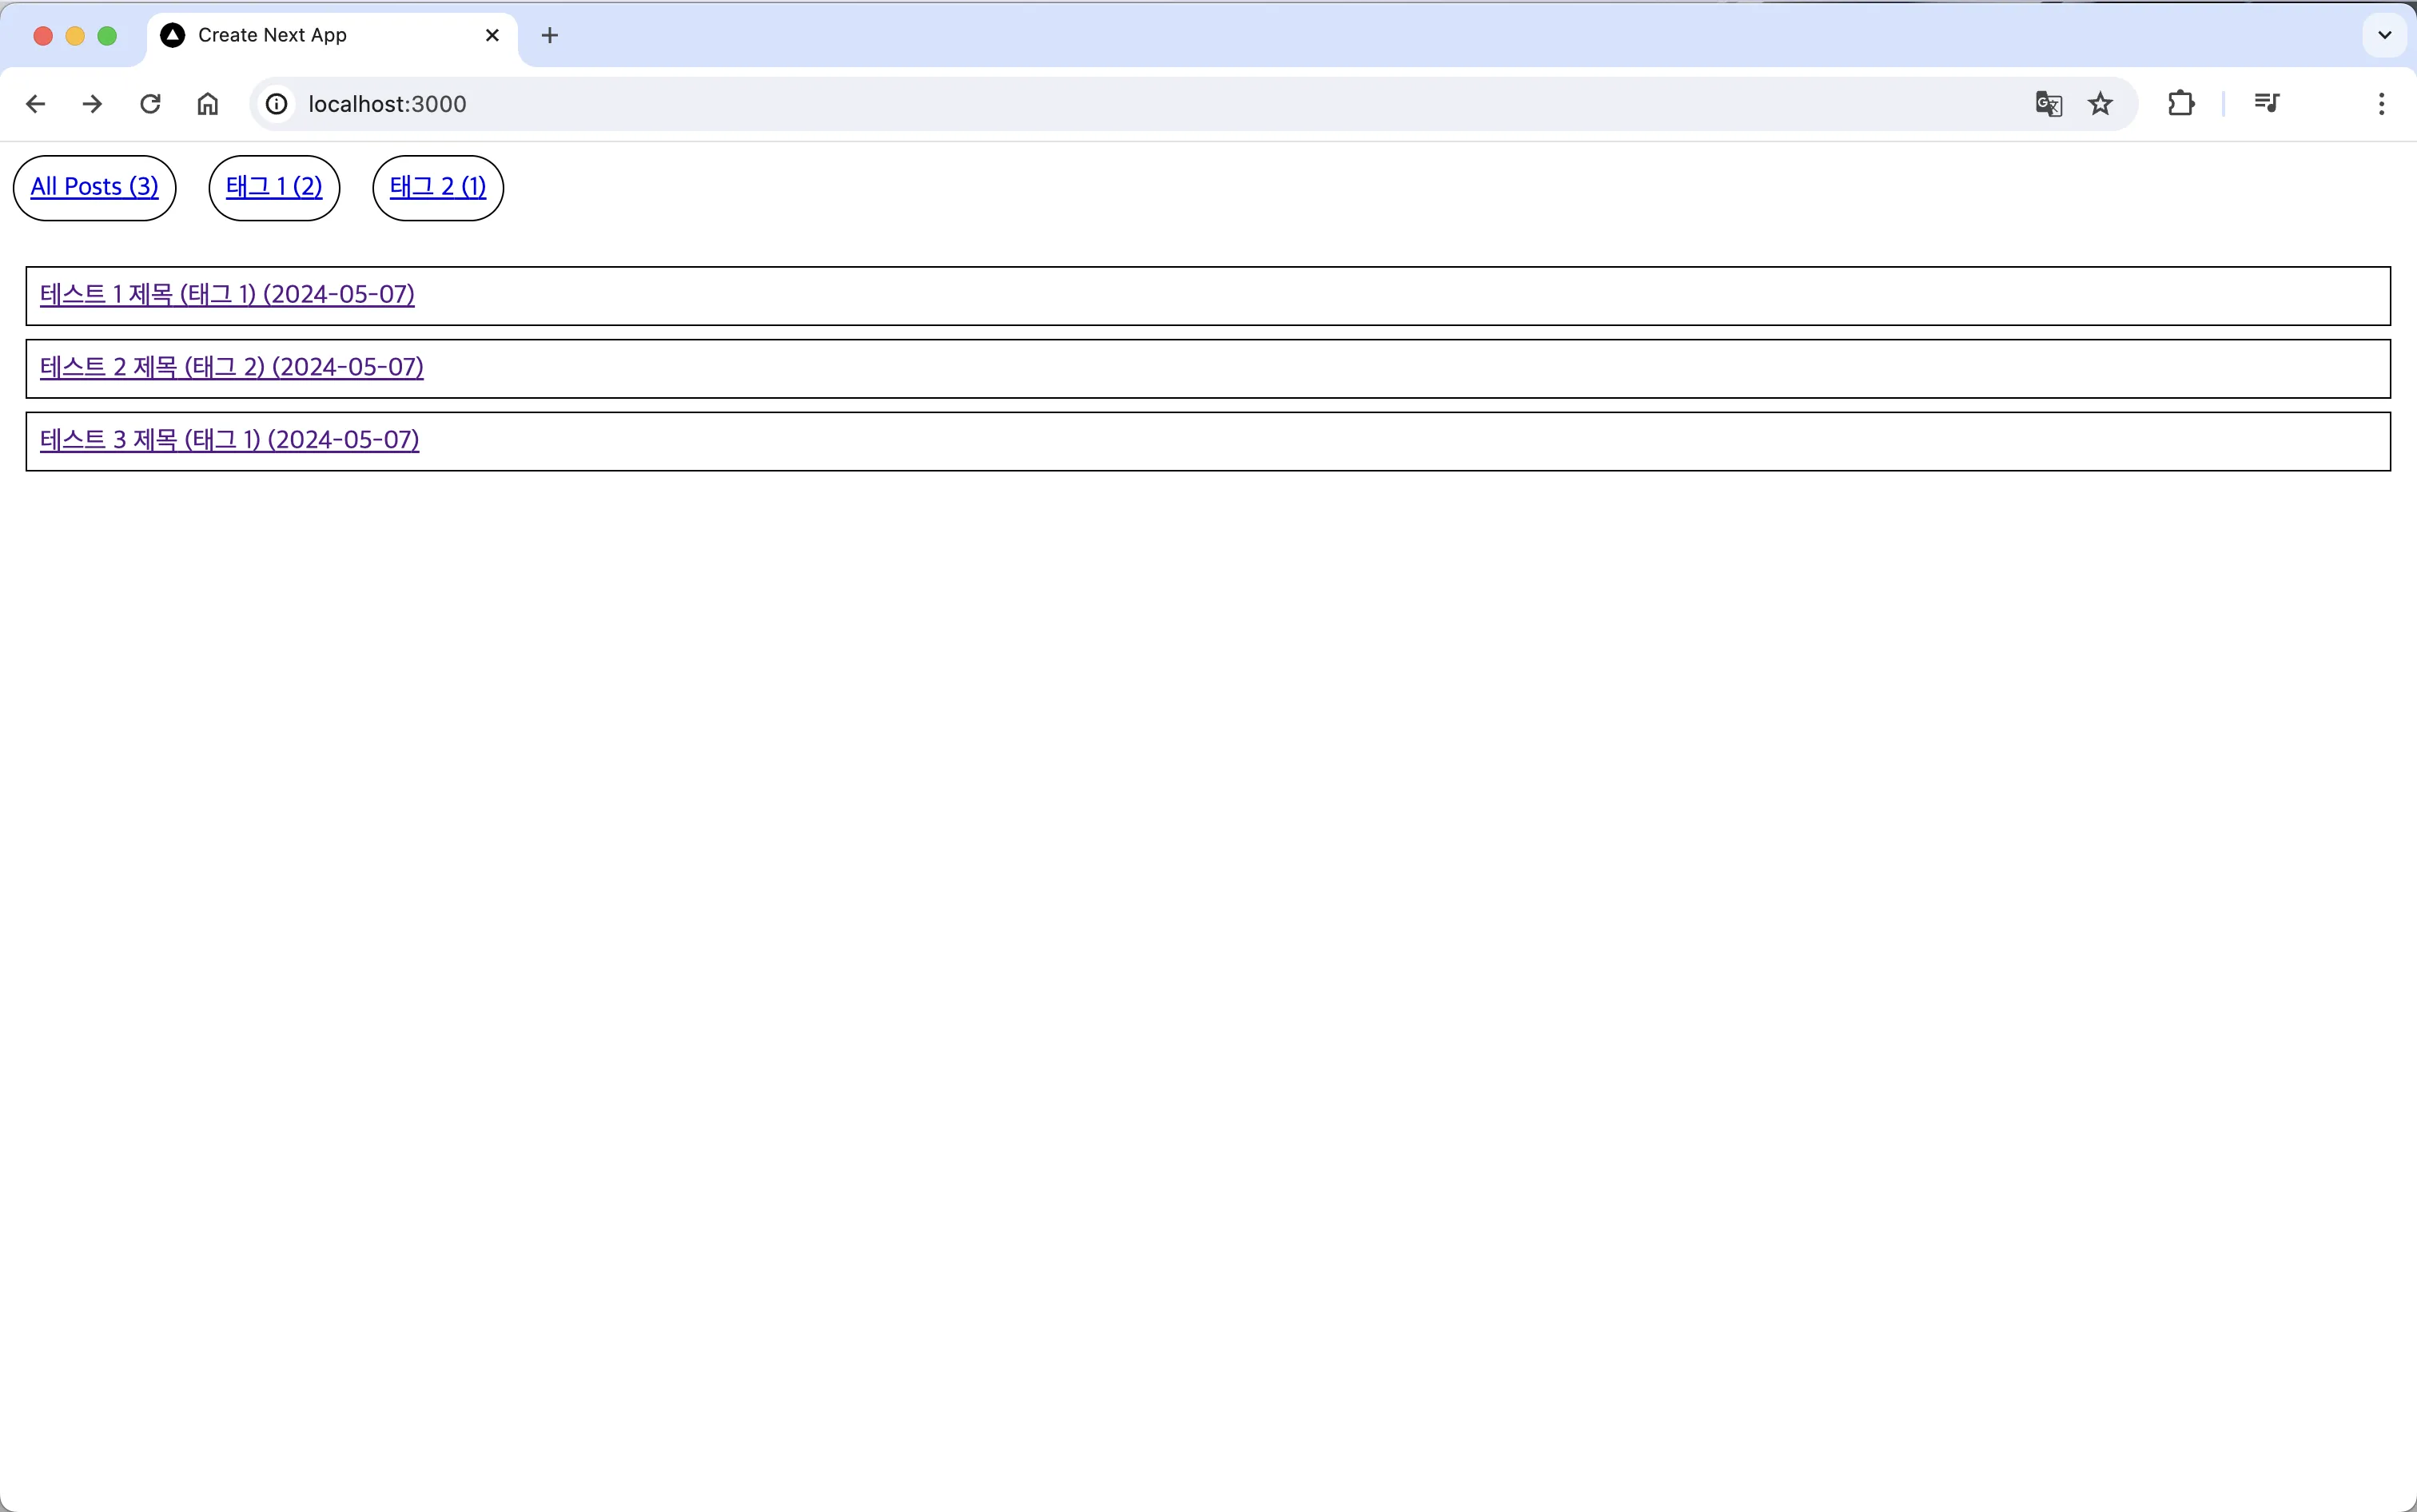
}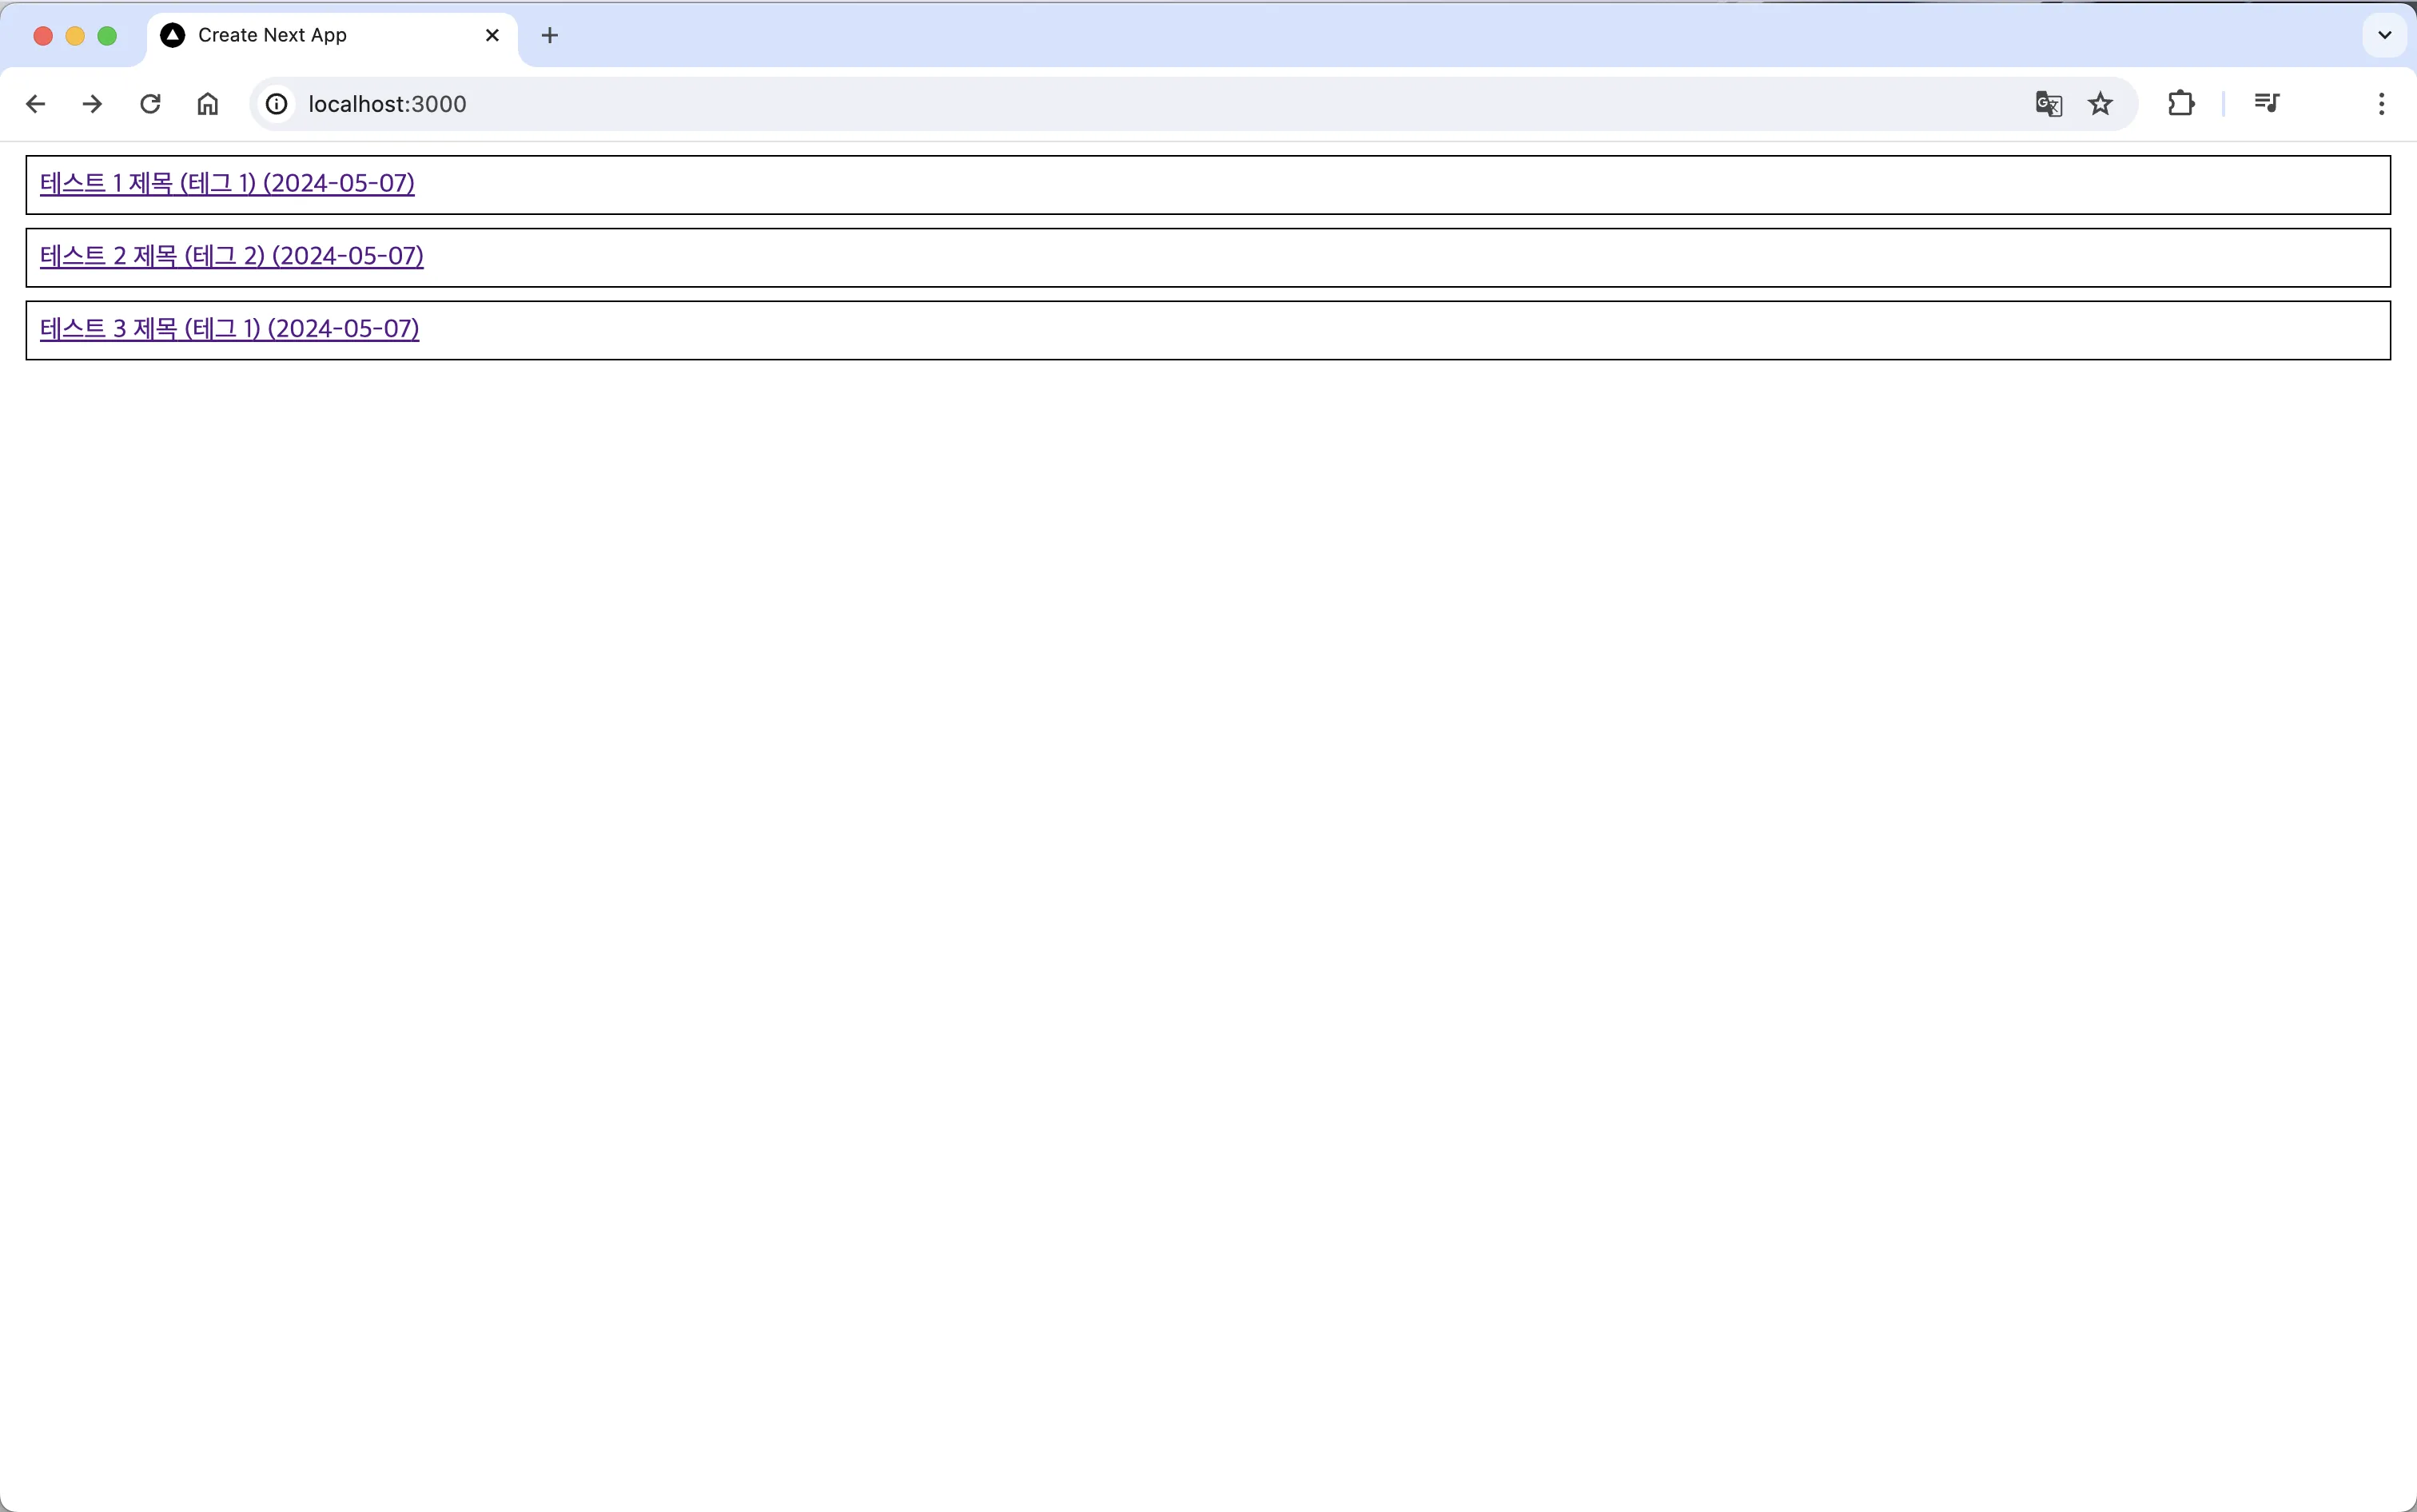 MDX 파일 목록
위 사진 처럼 contents 폴더 내에 있는 MDX 파일들이 모두 있는걸 볼 수 있습니다.
MDX 파일을 불러왔다면 여러 라이브러리를 통해서 더 편리한 기능을 추가하거나 스타일링을 할 수 있습니다. 마무리 하기 전에, h 태그에 링크를 거는 방법과 코드 블럭 스타일링 방법을 알려드리도록 하겠습니다.
h 태그에 링크 걸기
위와 같이 # 이 들어가는 h 태그들을 누르면 위처럼 해당 내용으로 이동할 수 있도록 하는 rehypePlugins를 알려드리겠습니다.
yarn add rehype-autolink-headings rehype-slug위 라이브러리들을 설치해줍니다. rehype-autolink-headings는 h태그를 누르면 이동할 수 있도록 해주고, rehype-slug의 경우는 h 태그에 고유한 id를 생성해줍니다.
import rehypeAutolinkHeadings from "rehype-autolink-headings";
import rehypeSlug from "rehype-slug";

const options: any = {
  mdxOptions: {
    remarkPlugins: [],
    rehypePlugins: [
      rehypeSlug,
      [
        rehypeAutolinkHeadings,
        {
          behavior: "wrap",
          properties: {
            className: [styles.anchor],
          },
        },
      ],
    ],
  },
};

<MDXRemote source={props.content} options={options} />;
그리고 options를 만들어 rehypePlugins에 위와 같이 라이브러리들을 추가해주고, MDXRemote에 있는 options에 options를 추가해줍니다.
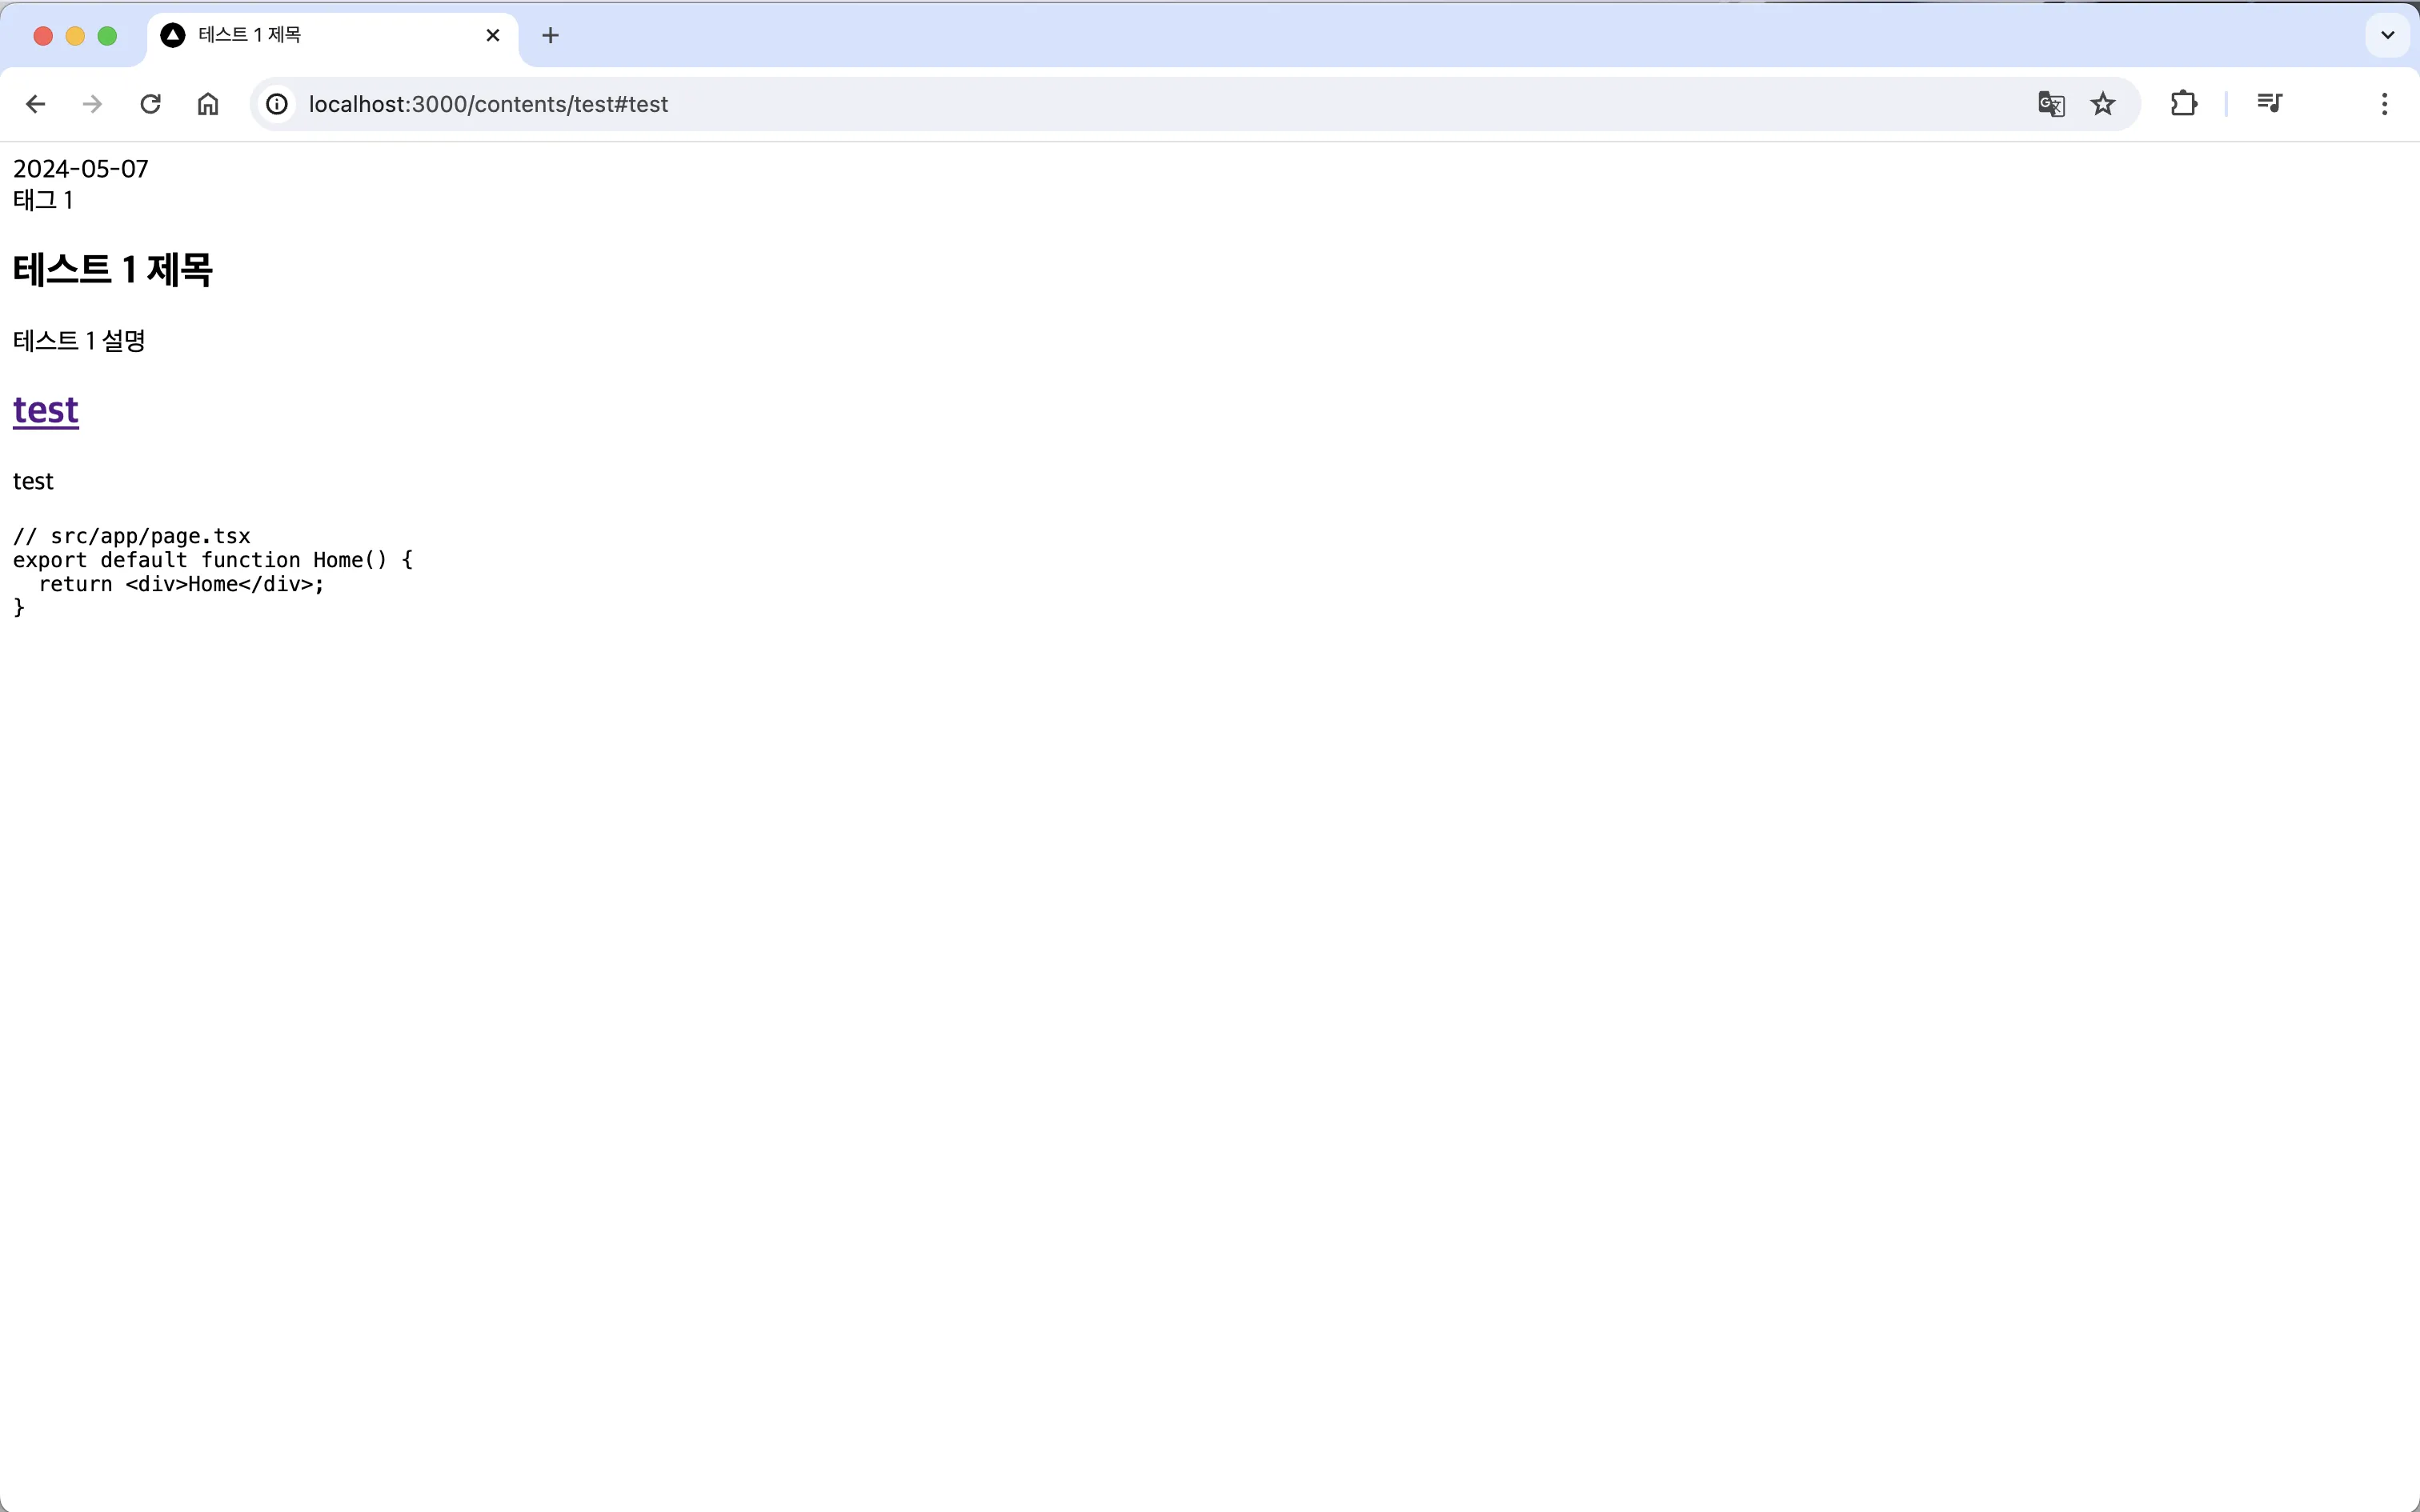
그러면 h 태그에 링크가 걸린 것을 확인할 수 있습니다.
코드블럭 스타일링하기
 스타일링 된 코드블럭
코드블럭을 위 처럼 스타일링 하는 법을 알아보겠습니다.
우선 rehype-highlight 라이브러리를 설치해줍니다.
yarn add rehype-highlight그리고 Github 에서 원하는 파일을 선택해 다운로드 합니다.
그리고 src 디렉토리 내에 highlight-js 폴더를 만든 뒤 다운로드 한 파일을 넣어줍니다.
그리고 rehype-highlight를 options에 추가하고 다운로드한 파일을 import 해줍니다.
import rehypeHighlight from "rehype-highlight";
import "@/highlight-js/github-dark.css";

const options: any = {
  mdxOptions: {
    remarkPlugins: [],
    rehypePlugins: [
      rehypeSlug,
      rehypeHighlight,
      [
        rehypeAutolinkHeadings,
        {
          behavior: "wrap",
          properties: {
            className: [styles.anchor],
          },
        },
      ],
    ],
  },
};
스타일링 된 코드블럭
추가하면 위와 같이 코드블럭이 스타일링 됩니다.
여기서 추가로 스타일링 해준다면 맨 위 코드블럭과 같이 스타일링이 가능합니다.
저의 스타일링은 Github 에서 확인하실 수 있습니다.
마무리
위와 같은 라이브러리 외에도 많은 라이브러리 들이 있으니 이를 참고해서 자신이 원하는 방향으로 활용하시길 바랍니다.
저는 태그 별로 contents를 불러오는 기능을 추가해 보기도 했습니다. 해당 활용법이 궁금하시다면 Github 를 참고해주세요.
긴 글 읽어주셔서 감사합니다.