
죽림고수 만들기
2024-10-13
p5.js를 통해 죽림고수를 재현하고, 배포합니다.
Contents
죽림고수란?
만들기 전에 죽림고수를 모르시는 분들을 위해 죽림고수에 대해 간단히 설명드리겠습니다. 죽림고수란 한게임 플래시에서 제작한 플래시 게임입니다. 게임 방법은 간단하게 방향키로 캐릭터를 움직여서 날아오는 화살을 피하면 됩니다.
 죽림고수
죽림고수
기본 파일 설정
우선 프로젝트의 패키지 관리를 위해서 package.json을 추가합니다.
yarn init그리고 프로젝트 빌드를 위해 번들러를 설치합니다. 저는 Webpack을 사용했습니다.
yarn add webpack webpack-cli webpack-dev-server html-webpack-pluginWebpack을 설치했다면 루트 디렉토리에 webpack.config.js를 추가합니다. webpack.config.js를 보면, src 폴더 내에 index.html과 index.js를 기준으로 빌드되는 것을 알 수 있습니다. 또한 이미지 처리를 가능하도록 rules에 관련 내용이 있는걸 확인할 수 있습니다.
const path = require("path");
const HtmlWebpackPlugin = require("html-webpack-plugin");

module.exports = {
  mode: "development",
  entry: "./src/index.js",
  output: {
    filename: "main.js",
    path: path.resolve(__dirname, "dist"),
    clean: true,
  },
  devServer: {
    static: {
      directory: path.join(__dirname, "dist"),
    },
    port: 3000,
  },
  plugins: [
    new HtmlWebpackPlugin({
      template: "./src/index.html",
    }),
  ],
  module: {
    rules: [
      {
        test: /\.(gif|png|jpe?g|svg|ico)$/i,
        type: "asset/resource",
        generator: {
          filename: "assets/[name][ext]",
        },
      },
    ],
  },
};
조금 더 편하게 Webpack을 실행하기 위해서 package.json에 scripts를 추가합니다.
{
    "scripts": {
    "build": "webpack",
    "dev": "webpack serve"
    }
}
빌드를 실행 할 때에 빌드 될 HTML 파일도 추가해줍니다.
<!DOCTYPE html>
<html lang="ko">
  <head>
    <meta charset="UTF-8" />
    <meta name="viewport" content="width=device-width, initial-scale=1.0" />
    <title>Bamboo Master</title>
  </head>
  <style></style>
  <body></body>
</html>
p5.JS 사용하기
p5.JS는 canvas를 더욱 쉽게 사용할 수 있도록 도와주는 라이브러리입니다. p5.JS에 있는 예제들을 통해서도 canvas에 도형 등을 쉽게 표현할 수 있는 것을 알 수 있습니다.
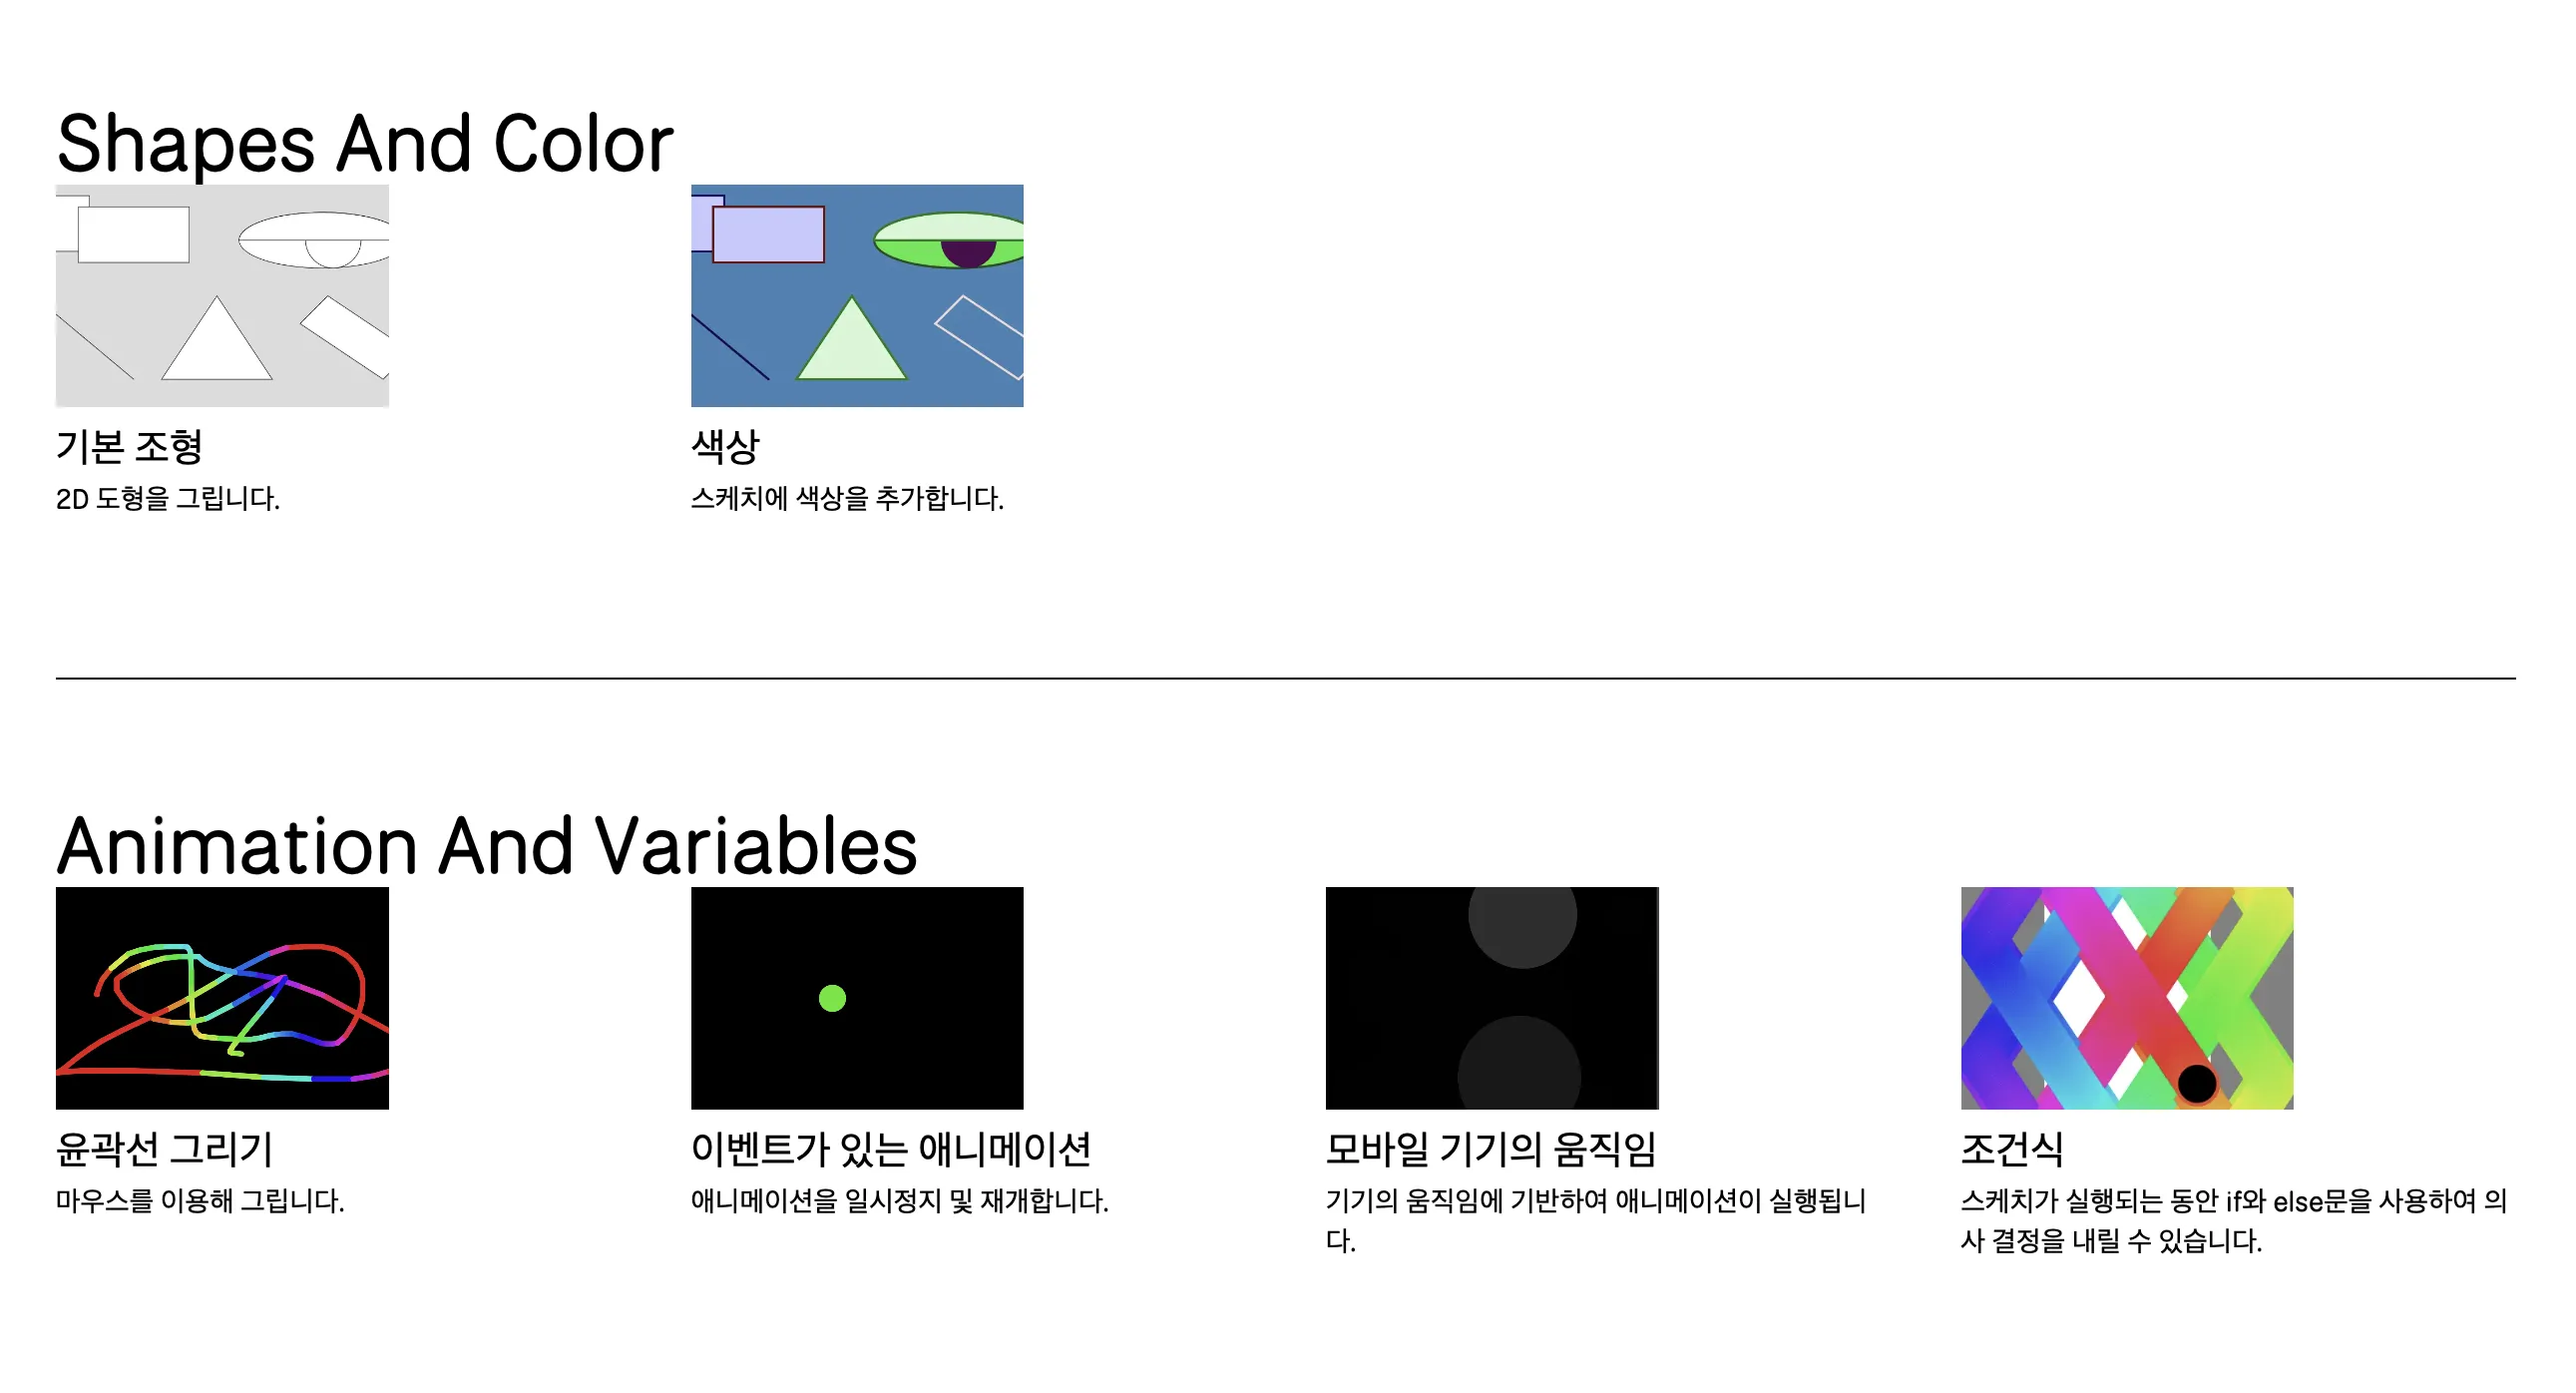 p5.JS 페이지에 제시되어있는 예제들
p5.JS 기본 설정
프로젝트에서 p5.JS를 사용하기 위해 p5.JS를 설치합니다.
yarn add p5그리고 index.js에 p5.JS를 사용하기 위한 기본 코드를 작성합니다.
import p5 from "p5";

const sketch = (p) => {
  p.preload = () => {};

  p.setup = () => {};

  p.draw = () => {};
};

new p5(sketch);preload()의 경우 이미지 등의 리소스를 비동기적으로 처리하고, setup()의 경우 스케치 함수 실행 시 처음 한 번만 실행되며, canvas 초기설정에 이용합니다. draw()는 반복 실행되어 canvas에 객체를 그릴 때 사용되는 함수입니다.
그리고 sketch()가 canvas를 그릴 수 있도록 index.html에 그려질 곳을 만들어줍니다.
<style>
  canvas {
    border-radius: 1000px;
  }
</style>
<body>
  <div id="canvas"></div>
</body>
div(#canvas)내에 그려질 canvas를 sketch()에 추가합니다.
p.setup = () => {
  const canvas = p.createCanvas(562, 562);
  canvas.parent("canvas");
};

p.draw = () => {
  p.background(32, 34, 57);
};
p5.JS를 통해 캐릭터 움직이기
다음으로 캐릭터를 만들고, 움직일 수 있도록 코드를 추가하겠습니다. 저는 Google의 할로윈 고양이를 캐릭터로 사용했습니다.
우선 캐릭터와 캐릭터의 크기, 위치, 키 입력을 선언합니다.
let cat;
let catScalar = 0.05;
let x, y;
let isMovingLeft, isMovingRight, isMovingUp, isMovingDown;
그리고 캐릭터를 preload()를 통해 불러오고, setup()에 위치와 키 입력을 설정한 뒤, draw()를 통해 canvas에 그려줍니다.
import catImage from "./assets/cat.webp";

const sketch = (p) => {
  p.preload = () => {
    cat = p.loadImage(catImage);
  };

  p.setup = () => {
    x = 281;
    y = 281;
    isMovingLeft = false;
    isMovingRight = false;
    isMovingUp = false;
    isMovingDown = false;
  };

  p.draw = () => {
    const catWidth = cat.width * catScalar;
    const catHeight = cat.height * catScalar;

    p.image(cat, x, y, catWidth, catHeight);
  };
캐릭터를 불러왔으니, 캐릭터가 움직일 수 있도록 함수를 추가합니다.
const sketch = (p) => {
  p.setup = () => {
    isMovingLeft = false;
    isMovingRight = false;
    isMovingUp = false;
    isMovingDown = false;
  };

  p.draw = () => {
    if (isMovingUp && y > 0) {
      y -= 5;
    }
    if (isMovingDown && y < p.height - catHeight) {
      y += 5;
    }
    if (isMovingLeft && x > 0) {
      x -= 5;
    }
    if (isMovingRight && x < p.width - catWidth) {
      x += 5;
    }
  };

  p.keyPressed = () => {
    if (p.key === "ArrowUp") {
      isMovingUp = true;
    }
    if (p.key === "ArrowDown") {
      isMovingDown = true;
    }
    if (p.key === "ArrowLeft") {
      isMovingLeft = true;
    }
    if (p.key === "ArrowRight") {
      isMovingRight = true;
    }
  };

  p.keyReleased = () => {
    if (p.key === "ArrowUp") {
      isMovingUp = false;
    }
    if (p.key === "ArrowDown") {
      isMovingDown = false;
    }
    if (p.key === "ArrowLeft") {
      isMovingLeft = false;
    }
    if (p.key === "ArrowRight") {
      isMovingRight = false;
    }
  };
};
여기까지 함수를 모두 추가했다면 캐릭터가 잘 움직이는 걸 확인할 수 있습니다. 아래의 코드를 참고하여 위 코드를 이해하시길 바랍니다.
import p5 from "p5";
import catImage from "./assets/cat.webp";

let cat;
let catScalar = 0.05;
let x, y;
let isMovingLeft, isMovingRight, isMovingUp, isMovingDown;

const sketch = (p) => {
  p.preload = () => {
    cat = p.loadImage(catImage);
  };

  p.setup = () => {
    const canvas = p.createCanvas(562, 562);
    canvas.parent("canvas");

    x = 281;
    y = 281;
    isMovingLeft = false;
    isMovingRight = false;
    isMovingUp = false;
    isMovingDown = false;
  };

  p.draw = () => {
    p.background(32, 34, 57);

    const catWidth = cat.width * catScalar;
    const catHeight = cat.height * catScalar;

    if (isMovingUp && y > 0) {
      y -= 5;
    }
    if (isMovingDown && y < p.height - catHeight) {
      y += 5;
    }
    if (isMovingLeft && x > 0) {
      x -= 5;
    }
    if (isMovingRight && x < p.width - catWidth) {
      x += 5;
    }

    p.image(cat, x, y, catWidth, catHeight);
  };

  p.keyPressed = () => {
    if (p.key === "ArrowUp") {
      isMovingUp = true;
    }
    if (p.key === "ArrowDown") {
      isMovingDown = true;
    }
    if (p.key === "ArrowLeft") {
      isMovingLeft = true;
    }
    if (p.key === "ArrowRight") {
      isMovingRight = true;
    }
  };

  p.keyReleased = () => {
    if (p.key === "ArrowUp") {
      isMovingUp = false;
    }
    if (p.key === "ArrowDown") {
      isMovingDown = false;
    }
    if (p.key === "ArrowLeft") {
      isMovingLeft = false;
    }
    if (p.key === "ArrowRight") {
      isMovingRight = false;
    }
  };
};

new p5(sketch);
간과하고 있었던 점
사실 저희가 그린 canvas는 원형이었습니다. 그렇기 때문에 위 코드를 기준으로 실행한다면, 보이지 않는 영역 (정사각형) 까지 캐릭터가 움직일 수 있게 됩니다. 그렇기 때문에 원 밖으로 나가지 못하도록 하는 코드를 추가해주겠습니다.
const radius = 281;

const sketch = (p) => {
  p.draw = () => {
    const distFromCenter = p.dist(x, y, 281, 281);
    if (distFromCenter + catWidth / 2 > radius) {
      const angle = Math.atan2(y - 281, x - 281);
      x = 281 + (radius - catWidth / 2) * Math.cos(angle);
      y = 281 + (radius - catWidth / 2) * Math.sin(angle);
    }
  };
};
화살 추가하기
이제 캐릭터가 피할 화살을 추가해보도록 하겠습니다. 우선 제가 기획한 화살은 화살의 속도가 갈수록 빨라지고, 10초마다 대량의 화살이 스폰되도록 하였습니다. 이를 위해서는 결국 시간 측정이 필요하기 때문에 시간 측정 기능과 화살 추가 기능을 같이 만들도록 하겠습니다.
let startTime;
let arrows = [];
let arrowSpeed = 2;
let arrowSpawnInterval = 1000;
let lastMultipleArrowTime = 0;

const sketch = (p) => {
  p.setup = () => {
    startTime = p.millis();
    setInterval(spawnArrow, arrowSpawnInterval);

    updateSeconds();
  };

  p.draw = () => {
    for (let i = arrows.length - 1; i >= 0; i--) {
      const arrow = arrows[i];
      arrow.x += arrow.vx * arrowSpeed;
      arrow.y += arrow.vy * arrowSpeed;

      if (
        arrow.x < 0 ||
        arrow.x > p.width ||
        arrow.y < 0 ||
        arrow.y > p.height
      ) {
        arrows.splice(i, 1);
        continue;
      }

      if (
        p.dist(arrow.x, arrow.y, x + catWidth / 2, y + catHeight / 2) <
        catWidth / 2
      ) {
        p.noLoop();
        alert(`${(p.millis() / 1000).toFixed(2)}초를 버텨냈어요! 😺`);
        location.reload();
        return;
      }

      p.stroke(255, 255, 255);
      p.strokeWeight(4);
      p.line(
        arrow.x,
        arrow.y,
        arrow.x - arrow.vx * 10,
        arrow.y - arrow.vy * 10
      );
    }

    setInterval(() => {
      arrowSpeed += 0.0005;
    }, 3000);

    if (p.millis() - startTime > 10000) {
      arrowSpawnInterval = Math.max(500, arrowSpawnInterval - 100);

      setInterval(spawnArrow, arrowSpawnInterval);
      startTime = p.millis();
    }

    if (p.millis() / 1000 - lastMultipleArrowTime >= 10) {
      spawnMultipleArrows(((p.millis() / 1000) * 3) / 5 + 10);
      lastMultipleArrowTime = p.millis() / 1000;
    }
  };

  function spawnArrow() {
    const edge = Math.floor(Math.random() * 4);
    let arrow = { x: 0, y: 0, vx: 0, vy: 0 };

    switch (edge) {
      case 0:
        arrow.x = Math.random() * p.width;
        arrow.y = 0;
        arrow.vx =
          (p.width / 2 - arrow.x) /
          p.dist(arrow.x, arrow.y, p.width / 2, p.height / 2);
        arrow.vy =
          (p.height / 2 - arrow.y) /
          p.dist(arrow.x, arrow.y, p.width / 2, p.height / 2);
        break;
      case 1:
        arrow.x = p.width;
        arrow.y = Math.random() * p.height;
        arrow.vx =
          (p.width / 2 - arrow.x) /
          p.dist(arrow.x, arrow.y, p.width / 2, p.height / 2);
        arrow.vy =
          (p.height / 2 - arrow.y) /
          p.dist(arrow.x, arrow.y, p.width / 2, p.height / 2);
        break;
      case 2:
        arrow.x = Math.random() * p.width;
        arrow.y = p.height;
        arrow.vx =
          (p.width / 2 - arrow.x) /
          p.dist(arrow.x, arrow.y, p.width / 2, p.height / 2);
        arrow.vy =
          (p.height / 2 - arrow.y) /
          p.dist(arrow.x, arrow.y, p.width / 2, p.height / 2);
        break;
      case 3:
        arrow.x = 0;
        arrow.y = Math.random() * p.height;
        arrow.vx =
          (p.width / 2 - arrow.x) /
          p.dist(arrow.x, arrow.y, p.width / 2, p.height / 2);
        arrow.vy =
          (p.height / 2 - arrow.y) /
          p.dist(arrow.x, arrow.y, p.width / 2, p.height / 2);
        break;
    }

    arrows.push(arrow);
  }

  function spawnMultipleArrows(count) {
    for (let i = 0; i < count; i++) {
      spawnArrow();
    }
  }

  function updateSeconds() {
    const secondsOutput = document.getElementById("seconds");
    if (secondsOutput) {
      secondsOutput.innerText = `${(p.millis() / 1000).toFixed(2)}초`;
    }

    requestAnimationFrame(updateSeconds);
  }
};
게임의 종료 조건은 캐릭터가 화살에 닿았을 때 이며 코드를 통해 화살의 생성, 속도, 이벤트 등의 경우를 확인할 수 있습니다.
완성 코드 확인
이로서 게임의 필수 요소가 다 만들어졌습니다. 이제 실행을 해보면 게임이 잘 작동하는걸 확인할 수 있습니다.
import p5 from "p5";
import catImage from "./assets/cat.webp";

let cat;
let catScalar = 0.05;
let x, y;
let isMovingLeft, isMovingRight, isMovingUp, isMovingDown;
let startTime;
let arrows = [];
let arrowSpeed = 2;
let arrowSpawnInterval = 1000;
let lastMultipleArrowTime = 0;
const radius = 281;

const sketch = (p) => {
  p.preload = () => {
    cat = p.loadImage(catImage);
  };

  p.setup = () => {
    const canvas = p.createCanvas(562, 562);
    canvas.parent("canvas");

    x = 281;
    y = 281;
    isMovingLeft = false;
    isMovingRight = false;
    isMovingUp = false;
    isMovingDown = false;

    startTime = p.millis();
    setInterval(spawnArrow, arrowSpawnInterval);

    updateSeconds();
  };

  p.draw = () => {
    p.background(32, 34, 57);

    const catWidth = cat.width * catScalar;
    const catHeight = cat.height * catScalar;

    if (isMovingUp && y > 0) {
      y -= 5;
    }
    if (isMovingDown && y < p.height - catHeight) {
      y += 5;
    }
    if (isMovingLeft && x > 0) {
      x -= 5;
    }
    if (isMovingRight && x < p.width - catWidth) {
      x += 5;
    }

    const distFromCenter = p.dist(x, y, 281, 281);
    if (distFromCenter + catWidth / 2 > radius) {
      const angle = Math.atan2(y - 281, x - 281);
      x = 281 + (radius - catWidth / 2) * Math.cos(angle);
      y = 281 + (radius - catWidth / 2) * Math.sin(angle);
    }

    for (let i = arrows.length - 1; i >= 0; i--) {
      const arrow = arrows[i];
      arrow.x += arrow.vx * arrowSpeed;
      arrow.y += arrow.vy * arrowSpeed;

      if (
        arrow.x < 0 ||
        arrow.x > p.width ||
        arrow.y < 0 ||
        arrow.y > p.height
      ) {
        arrows.splice(i, 1);
        continue;
      }

      if (
        p.dist(arrow.x, arrow.y, x + catWidth / 2, y + catHeight / 2) <
        catWidth / 2
      ) {
        p.noLoop();
        alert(`${(p.millis() / 1000).toFixed(2)}초를 버텨냈어요! 😺`);
        location.reload();
        return;
      }

      p.stroke(255, 255, 255);
      p.strokeWeight(4);
      p.line(
        arrow.x,
        arrow.y,
        arrow.x - arrow.vx * 10,
        arrow.y - arrow.vy * 10
      );
    }

    p.image(cat, x, y, catWidth, catHeight);

    setInterval(() => {
      arrowSpeed += 0.0005;
    }, 3000);

    if (p.millis() - startTime > 10000) {
      arrowSpawnInterval = Math.max(500, arrowSpawnInterval - 100);

      setInterval(spawnArrow, arrowSpawnInterval);
      startTime = p.millis();
    }

    if (p.millis() / 1000 - lastMultipleArrowTime >= 10) {
      spawnMultipleArrows(((p.millis() / 1000) * 3) / 5 + 10);
      lastMultipleArrowTime = p.millis() / 1000;
    }
  };

  p.keyPressed = () => {
    if (p.key === "ArrowUp") {
      isMovingUp = true;
    }
    if (p.key === "ArrowDown") {
      isMovingDown = true;
    }
    if (p.key === "ArrowLeft") {
      isMovingLeft = true;
    }
    if (p.key === "ArrowRight") {
      isMovingRight = true;
    }
  };

  p.keyReleased = () => {
    if (p.key === "ArrowUp") {
      isMovingUp = false;
    }
    if (p.key === "ArrowDown") {
      isMovingDown = false;
    }
    if (p.key === "ArrowLeft") {
      isMovingLeft = false;
    }
    if (p.key === "ArrowRight") {
      isMovingRight = false;
    }
  };

  function spawnArrow() {
    const edge = Math.floor(Math.random() * 4);
    let arrow = { x: 0, y: 0, vx: 0, vy: 0 };

    switch (edge) {
      case 0:
        arrow.x = Math.random() * p.width;
        arrow.y = 0;
        arrow.vx =
          (p.width / 2 - arrow.x) /
          p.dist(arrow.x, arrow.y, p.width / 2, p.height / 2);
        arrow.vy =
          (p.height / 2 - arrow.y) /
          p.dist(arrow.x, arrow.y, p.width / 2, p.height / 2);
        break;
      case 1:
        arrow.x = p.width;
        arrow.y = Math.random() * p.height;
        arrow.vx =
          (p.width / 2 - arrow.x) /
          p.dist(arrow.x, arrow.y, p.width / 2, p.height / 2);
        arrow.vy =
          (p.height / 2 - arrow.y) /
          p.dist(arrow.x, arrow.y, p.width / 2, p.height / 2);
        break;
      case 2:
        arrow.x = Math.random() * p.width;
        arrow.y = p.height;
        arrow.vx =
          (p.width / 2 - arrow.x) /
          p.dist(arrow.x, arrow.y, p.width / 2, p.height / 2);
        arrow.vy =
          (p.height / 2 - arrow.y) /
          p.dist(arrow.x, arrow.y, p.width / 2, p.height / 2);
        break;
      case 3:
        arrow.x = 0;
        arrow.y = Math.random() * p.height;
        arrow.vx =
          (p.width / 2 - arrow.x) /
          p.dist(arrow.x, arrow.y, p.width / 2, p.height / 2);
        arrow.vy =
          (p.height / 2 - arrow.y) /
          p.dist(arrow.x, arrow.y, p.width / 2, p.height / 2);
        break;
    }

    arrows.push(arrow);
  }

  function spawnMultipleArrows(count) {
    for (let i = 0; i < count; i++) {
      spawnArrow();
    }
  }

  function updateSeconds() {
    const secondsOutput = document.getElementById("seconds");
    if (secondsOutput) {
      secondsOutput.innerText = `${(p.millis() / 1000).toFixed(2)}초`;
    }

    requestAnimationFrame(updateSeconds);
  }
};

new p5(sketch);
게임은 배포된 페이지에서, 더 자세한 코드는 Github에서 확인하실 수 있습니다.
긴 글 읽어주셔서 감사합니다.